The requirements made of stainless steel surfaces vary greatly depending on the area of application. Visible surfaces are mainly satin-finished and containers are often polished to a mirror polish. Surfaces require a different type of machining to pipes or profiles. There are also special machines and grinding tools for corners and edges. Undertaking the right steps, in the right order, with tools matched perfectly to the application will effectively deliver the result you want in no time at all.
In reality scratches can rarely be avoided on stainless steel surfaces, whether they are the result of transport, use or processing. These scratches must be removed before satin-finishing. Use these tips from stainless steel experts at FEIN to produce a perfect satin grinding pattern.
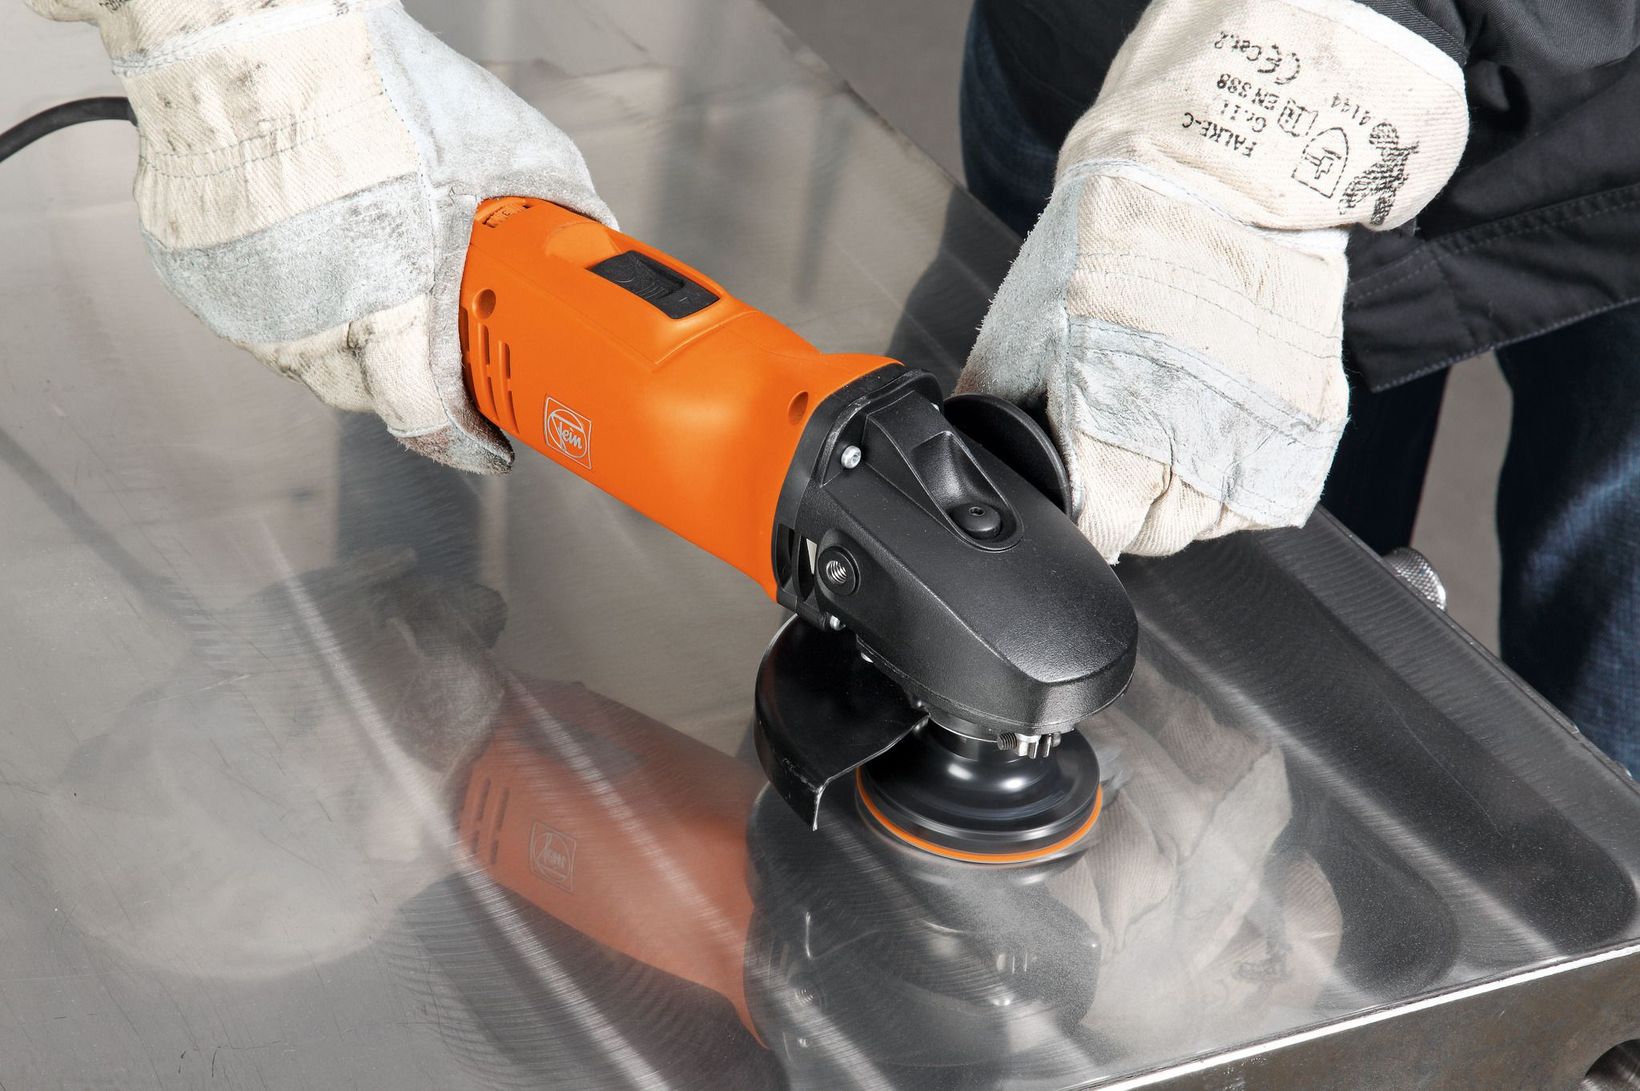
In the first step, work selectively to remove even deep scratches using a lower-speed angle grinder and a sanding sheet with a velcro fastening (grit 80). Special cooling sanding discs ensure a low build-up of heat. The rotary grooves created are then ground using a special Pyramix sanding sheet (grit 280 / 400). Velcro discs like this are shaped like pyramids and achieve outstanding roughness depth values while delivering just as effective grinding results. To avoid metallised surfaces, it is important to use elastic sanding pads, as they “distort” the grinding pattern and achieve soft transitional areas.
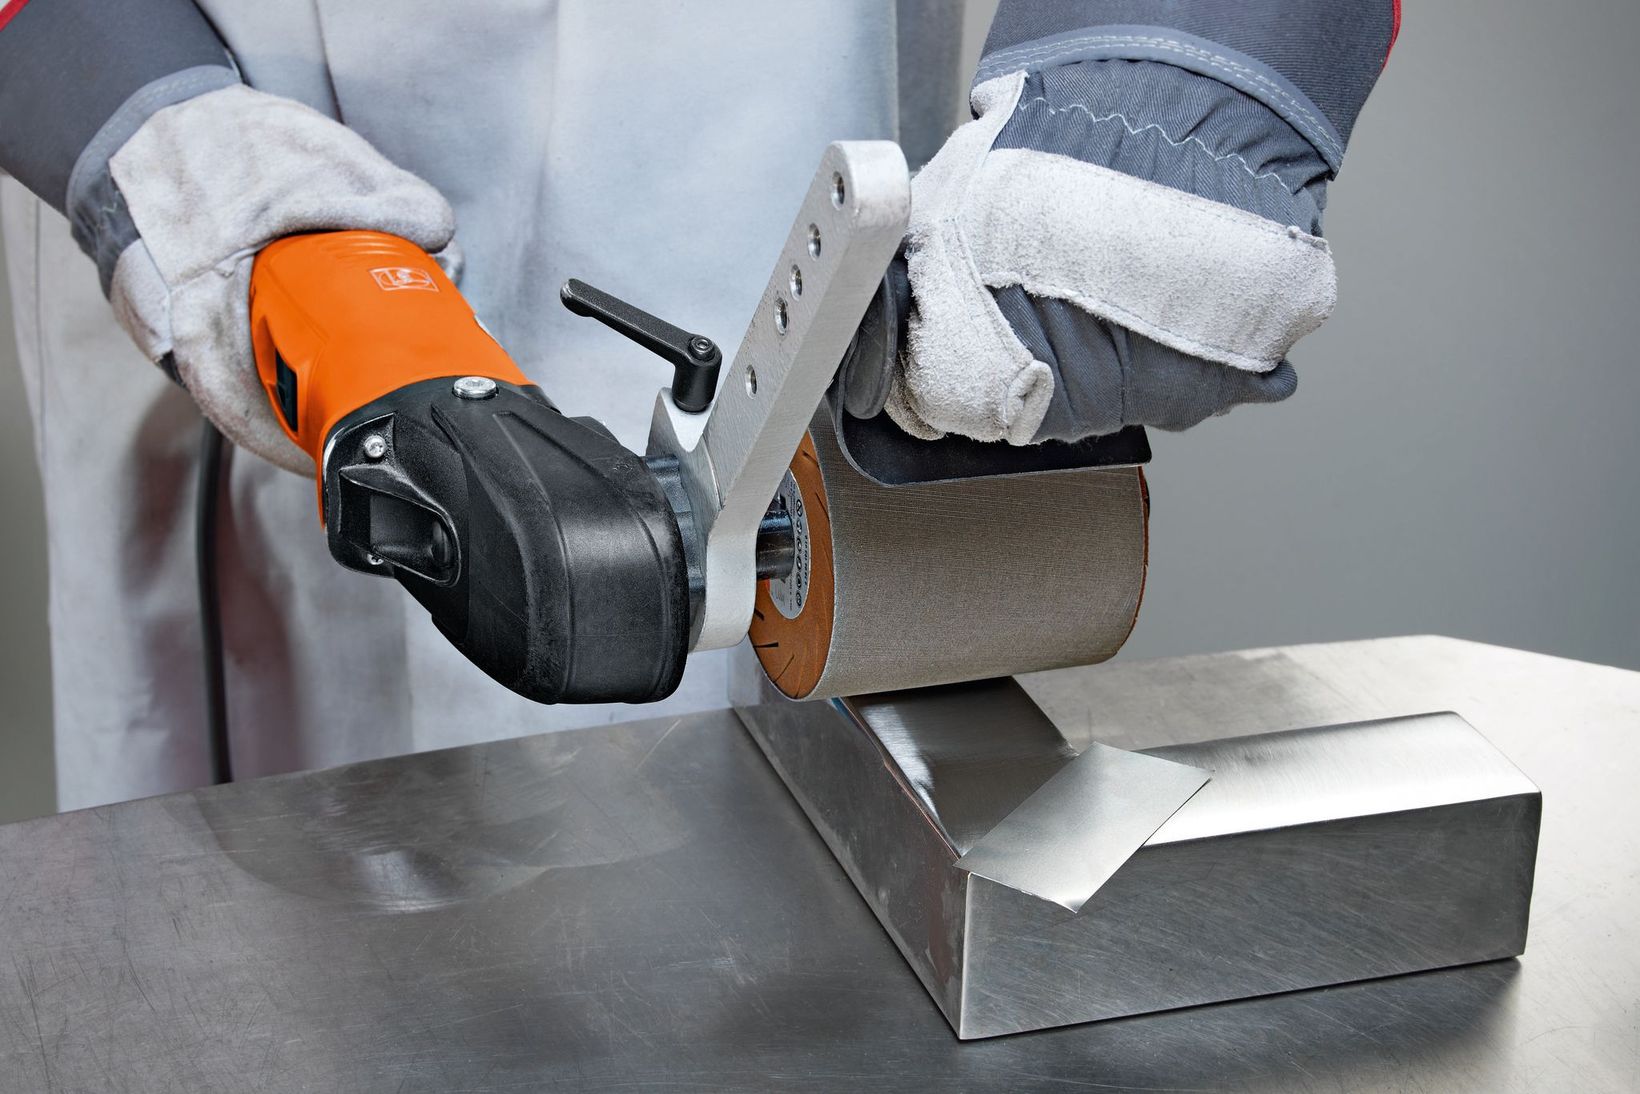
Once the scratches are removed, use a grinding polisher to achieve a perfect satin grinding pattern in three steps. For a smooth satin finish, FEIN recommends using a polyurethane elastic grinding cylinder. First grind with grit 60, then refine with grit 180. You should work at a maximum of 900 rpm so that the sheet metal doesn’t get too hot. Finally, use a sinusoidal fleece cylinder to achieve a perfectly smooth end finish.
Tip:
Thin sheet metals will often react to even low levels of heat development and will warp. Use a low speed of maximum 4200 rpm and a low contact pressure to avoid this. Placing a copper or aluminium plate underneath avoids additional build-up of heat and heat damage.
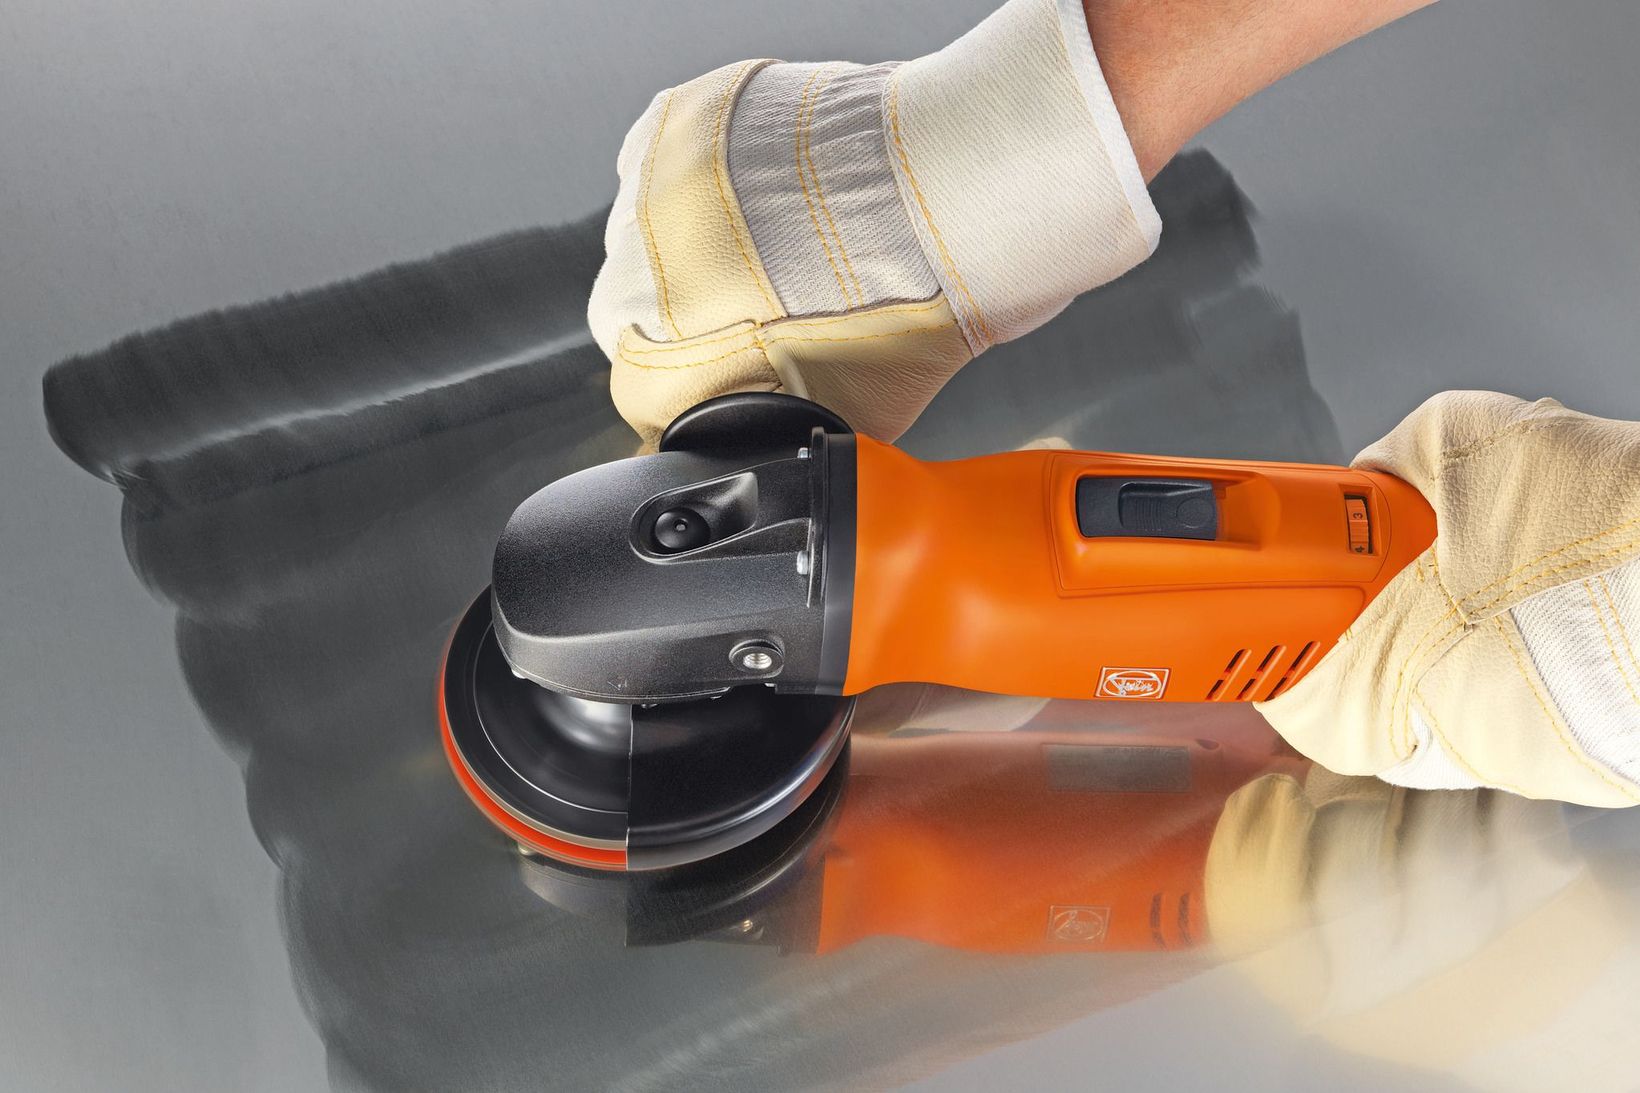
Selectively grinding out scratches during the rotary procedure.
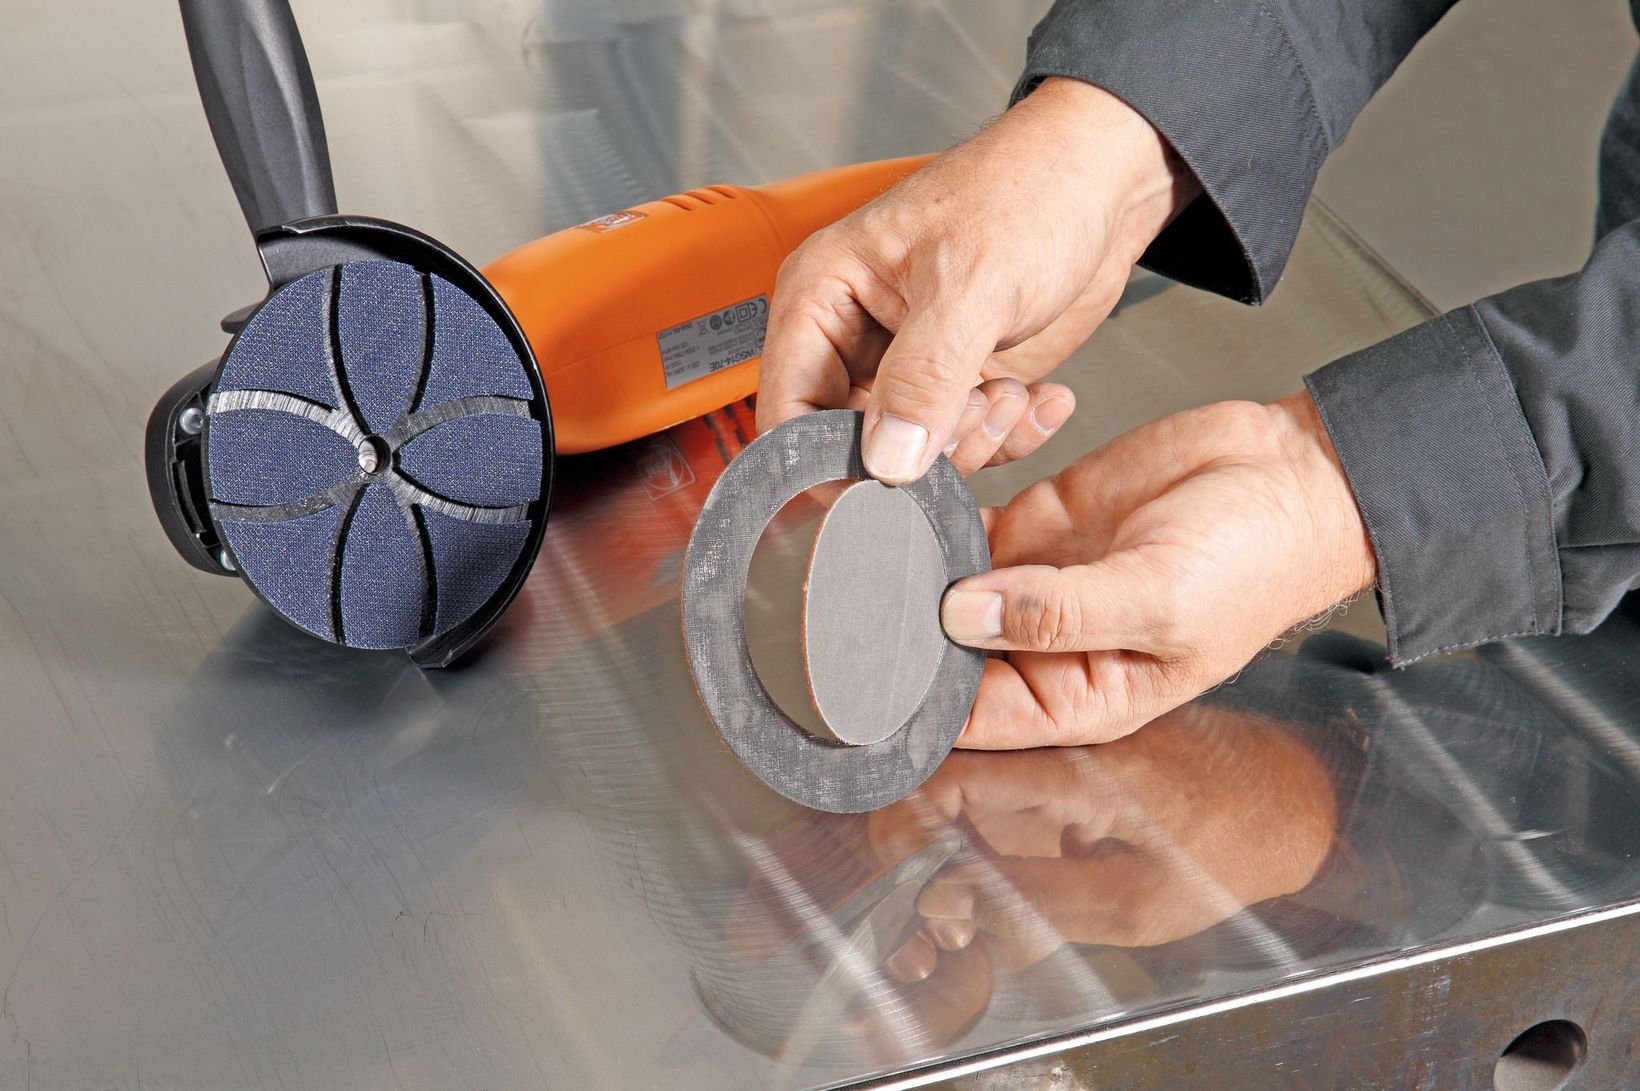
Easy removal of the worn edge of the abrasive sheet.
The inner area fits on a 75 mm grinding disc.
Satin-finishing.

