8-Steps to Refinishing Wood Furniture at Home
This 8-step guide will walk you through an easy way to refinish your wood furniture at home. Minimize your manual sanding time with a FEIN MULTIMASTER to get the job done quicker!
Materials Required:
- A FEIN MultiMaster
- Dust Extractor
- FEIN Triangular Big Sanding Pad or 4-1/2 Round Sanding Disc
- 150-180 Grit Sandpaper
- 200-220 Grit Sandpaper
- Paint Stripper
- Scraper Tool
- Clean Cloth
- Mineral Spirits
- Wood Filling Compound (Optional)
- Wood Stain
- Oil-Based Clear Coat or Sealant
Before you Begin
Before you Begin
Be sure you have all the required materials before you begin and make sure to work in a clean and well-ventilated area and cover your workspace if necessary.
Step 1: Apply Paint Stripper
Evenly apply paint stripper over the surface of your furniture piece and let it sit for up to 10 minutes. You will begin to see the old finish lifting from the wood.
Step 2: Remove the Old Finish
Use a scraper tool to remove the old finish, you may need to reapply stripper to remove any excess paint.

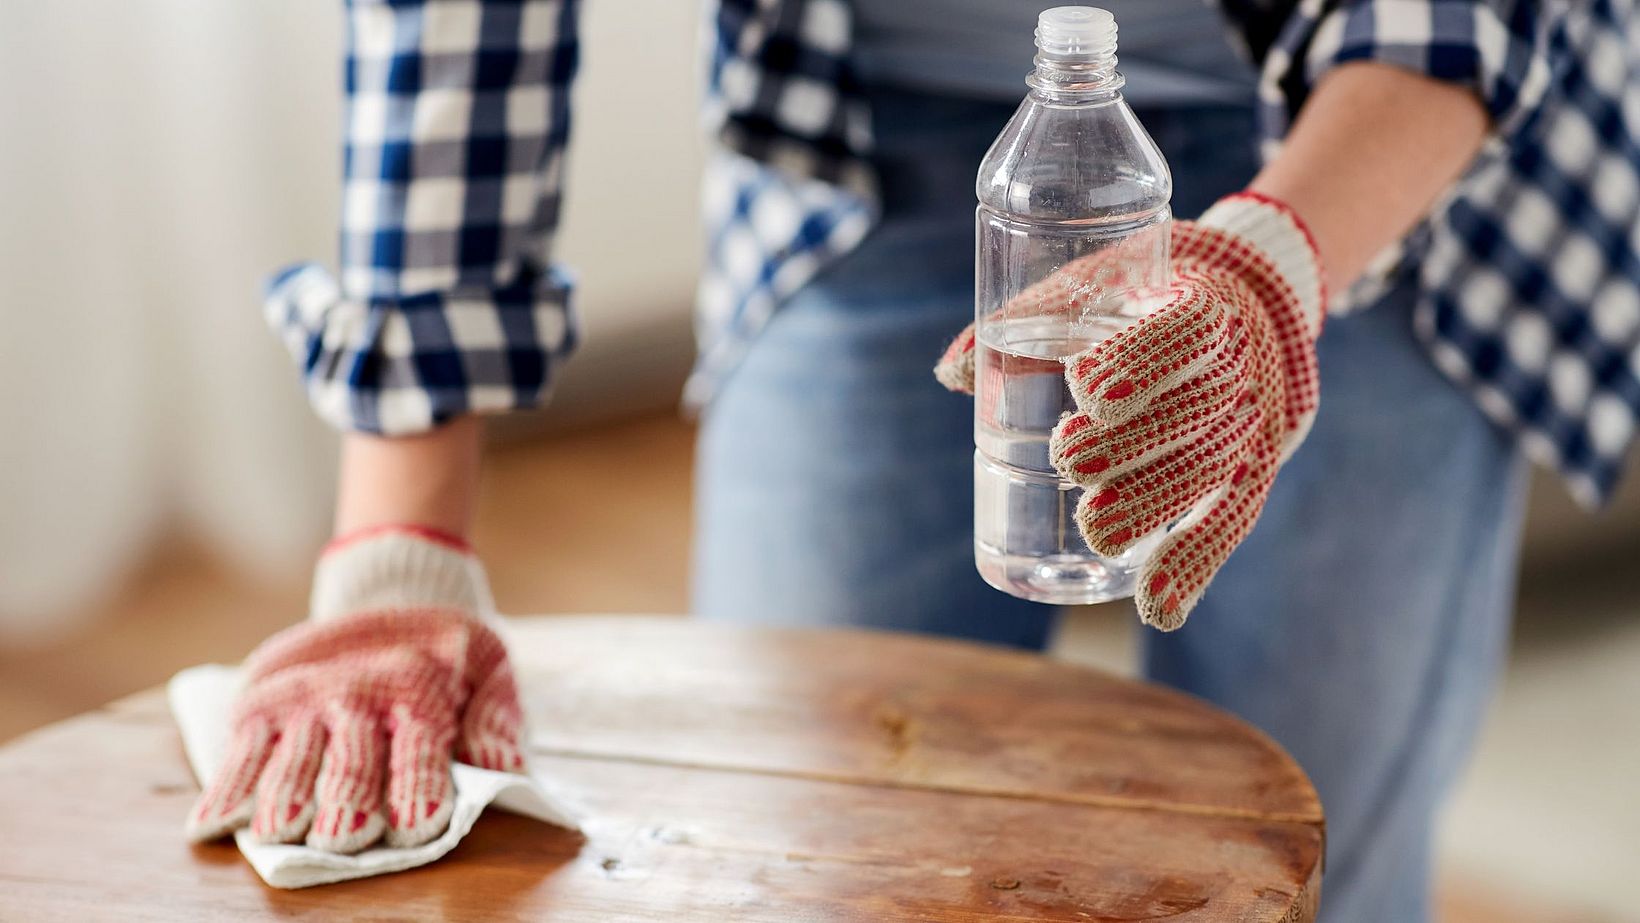
Step 3: Clean with Mineral Spirits
Once the surface is dry use a clean cloth and wipe with mineral spirits to remove any leftover stripper. The table should be dry before moving to the next step.
Step 4: Repair Flaws
Your furniture may have flaws that you would like fixed before finishing. Use a putty knife with epoxy and wax wood filling compound can help fill cracks, dents, and holes that your furniture may have. Let the filler dry completely.
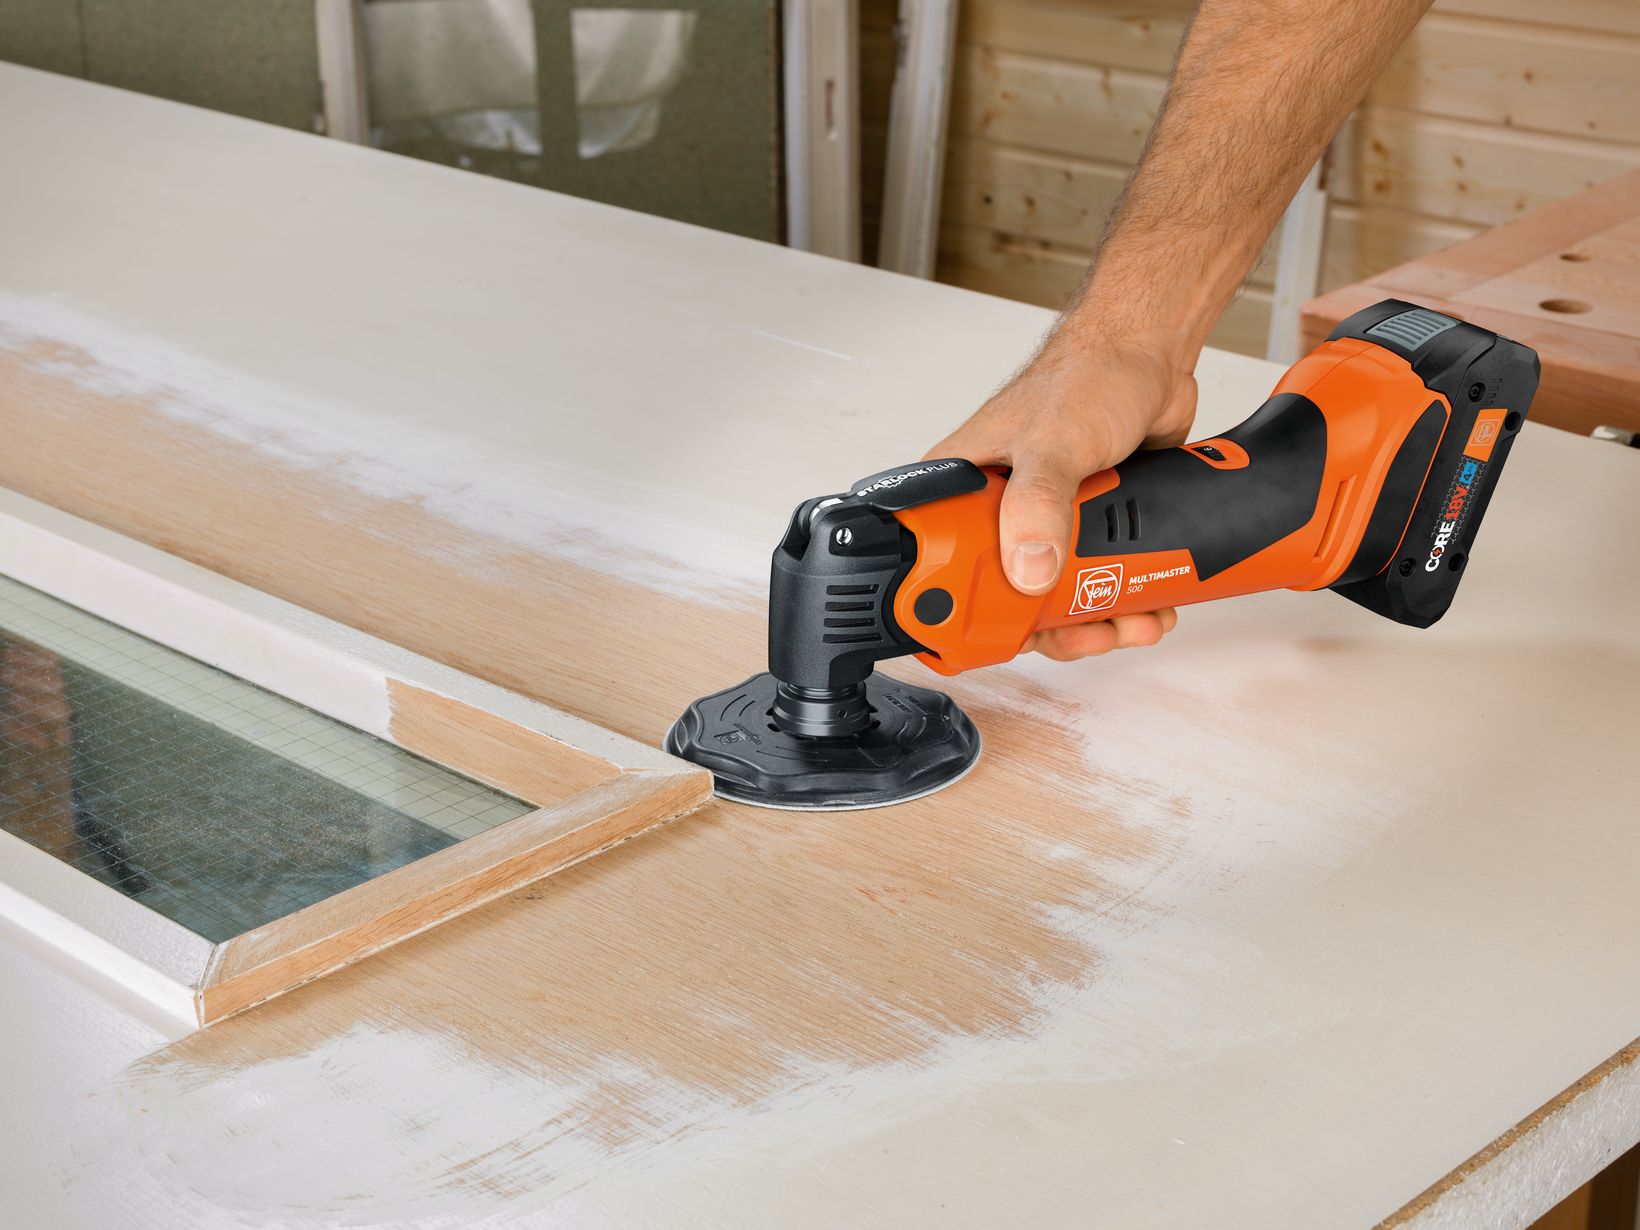
Step 5: Sanding
To make sanding quick, easy, and mess free, first hook your FEIN MULTIMASTER up to a vacuum. Attach large triangular pad or 4-1/2in round sanding pad and begin sanding your surface. To get into smaller grooves and molding use the profile sanding kit. Start with a coarse sandpaper grit (40-60 grit) to strip off finish, when most of the finish is removed move to a medium grit (80-120 grit) to remove any scratches or blemishes. Next go in with fine-grit (150-180 grit) to smooth out the surface and finish off with very fine grit (220-240 grit) to prepare the wood for staining on a smooth, even finish. When sanding is complete wipe down surfaces to remove any dust from sanding.
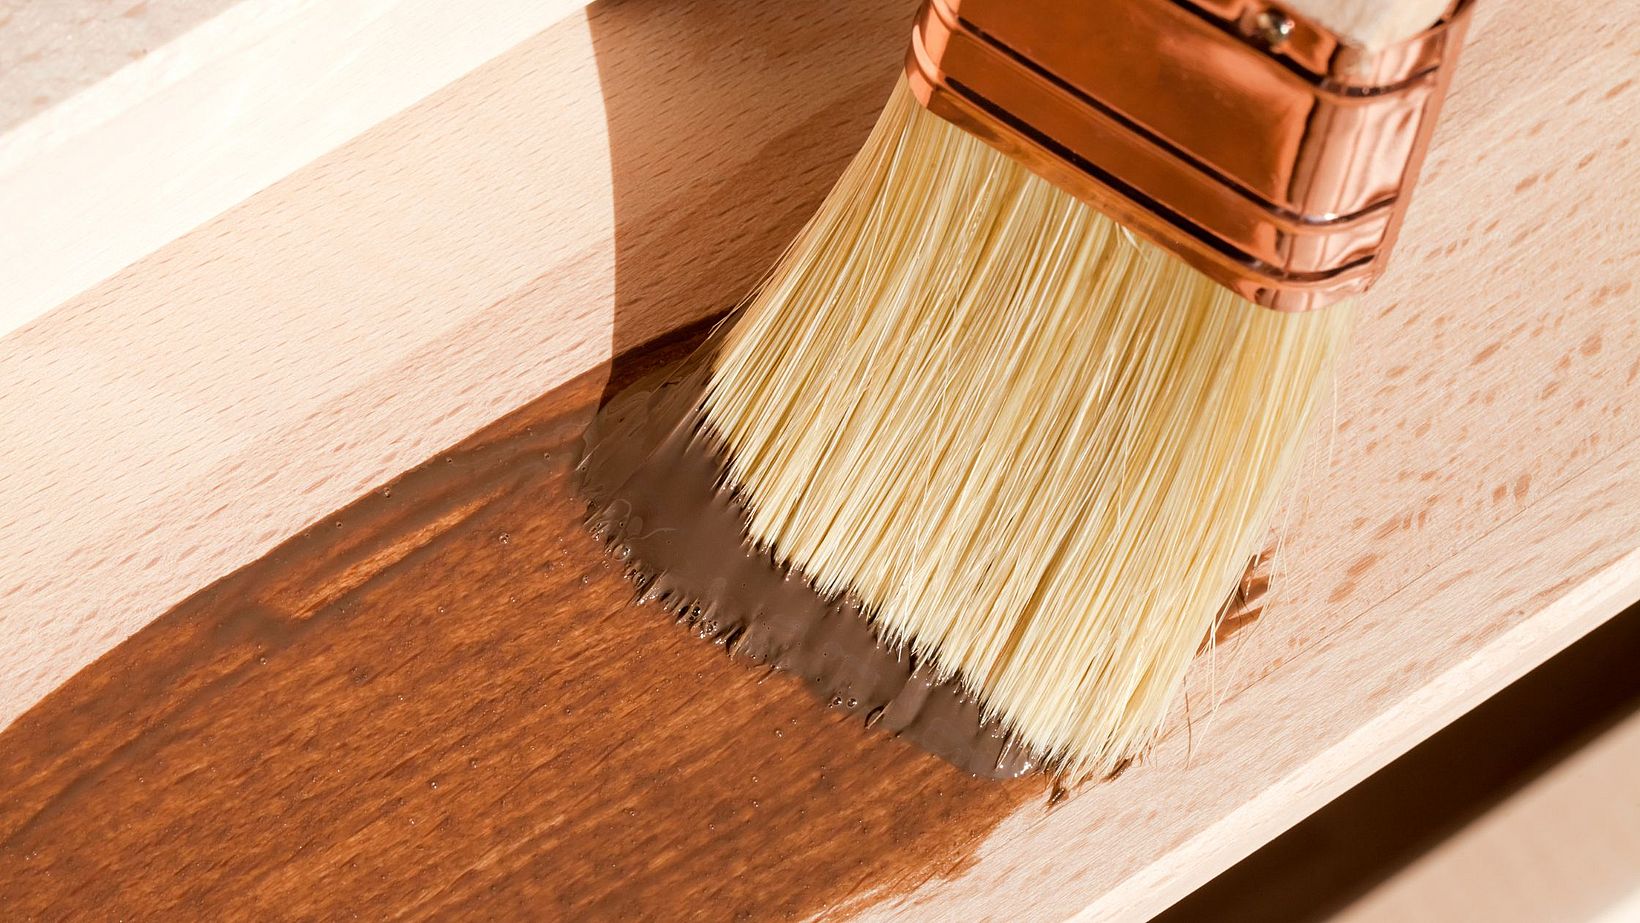
Step 6: Apply Stain
Apply stain to your piece with a staining pad or cloth and apply in long even strokes.
After stain has been applied use a clean cloth to remove excess stain. Be sure to wipe lightly with the grain to avoid streaking. In between coats sand the dry stain with extra fine grit (320-400 grit) to achieve a smooth finish. Continue applying coats of stain until the desired color is reached, being sure to let each coat to dry in between.
Step 7: Apply a Sealant or Clear Coat
For a final layer of protection and shine, apply an oil-based clear coat when the final coat of stain is completely dry. To smooth any imperfections and leave a pro-grade finish follow the natural grain of the piece and apply two coats. Sand in between with extra fine grit sandpaper (320-400) on your MULTIMASTER after the first coat is dry to achieve a polished and flawless result.
Step 8: Let Dry and Style
After the clear coat has been applied let your piece fully cure in a warm, dry, and well-ventilated area for at least 24 hours before use. Congratulations, you have given new life to an old piece of furniture! Time to style it in your space and enjoy your refinished furniture.